Adding a logo to a PDF can make your documents look more professional and on-brand. It might sound complicated, but there is an easy way to do it online. In this step-by-step guide, we will show you how to add your logo to any PDF using iLovePDF. By following these simple steps, you will be able to personalize your PDFs with your company's logo or any other image in just a few minutes.
Why Adding a Logo to Your PDF is Important
Adding a logo to your PDF documents can help strengthen your brand identity. Whether you are sending out company reports, marketing materials, or presentations, having a logo on your PDF will make it look more official and trustworthy. It can also help readers immediately recognize that the document is from your company or organization.
What You Will Need
To add a logo to a PDF, you need two things:
A PDF Document: This is the document you want to add your logo to.
A Logo File: This can be an image file of your logo, such as a PNG or JPEG.
Getting Started with iLovePDF
iLovePDF is a free online tool that makes editing PDFs simple and quick. You don't need to download any software. All you need is your PDF file and your logo file, and you can do everything online.
Step-by-Step Guide: How to Add a Logo to a PDF
Step 1: Navigate to iLovePDF Edit PDF Page
Go to the iLovePDF Edit PDF page using your web browser. This will lead you to an easy-to-use interface where you can start editing your PDF right away.
Step 2: Upload Your PDF File
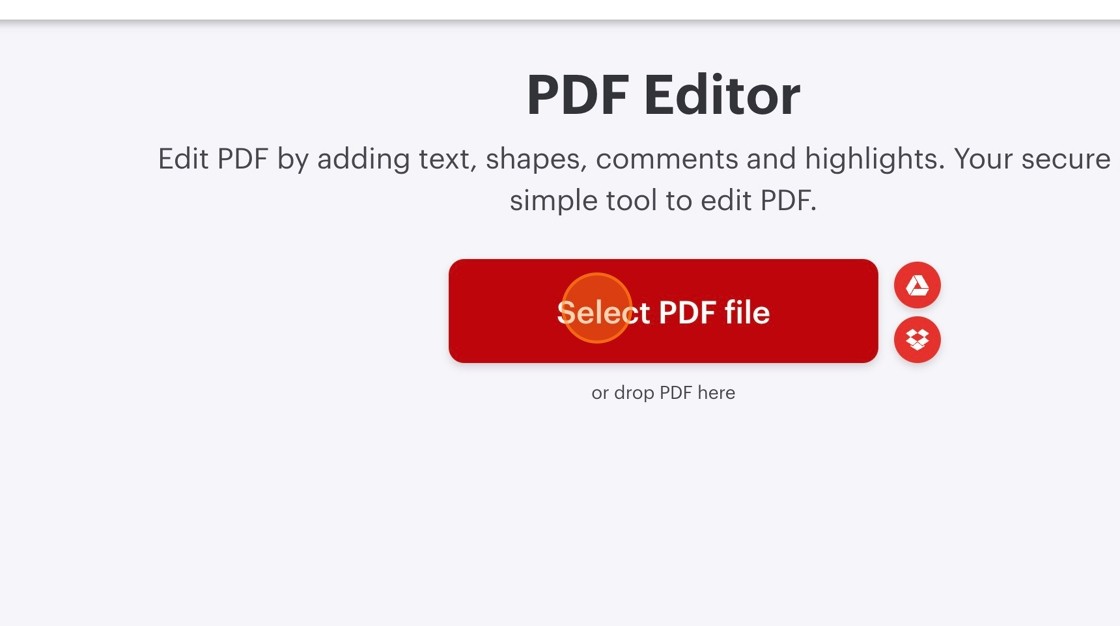
Click the "Select PDF file" button and choose the PDF you want to edit from your computer. You can also drag and drop the PDF file onto the page. Once you've selected the file, iLovePDF will upload it automatically.

Step 3: Insert Your Logo Image
On the top toolbar, click on the Image icon. Upload your logo from your computer. Once your logo is uploaded, it will appear on the PDF page.

Step 4: Resize and Position the Logo
Click and drag the corners of your logo to resize it to the desired size. You can also click and drag the logo to move it to the position you want on the page. Make sure it’s placed correctly and looks good on the document.

Step 5: Apply the Changes
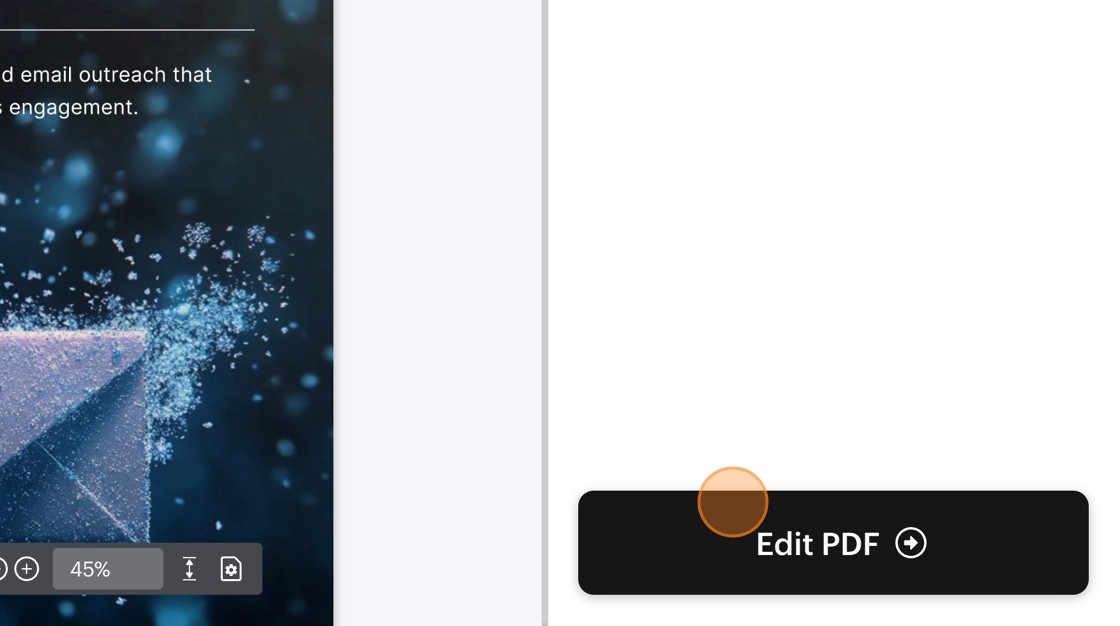
After placing and resizing the logo, click "Edit PDF" to apply your changes. This will prompt iLovePDF to process the edited PDF.

Step 6: Download Your Edited PDF
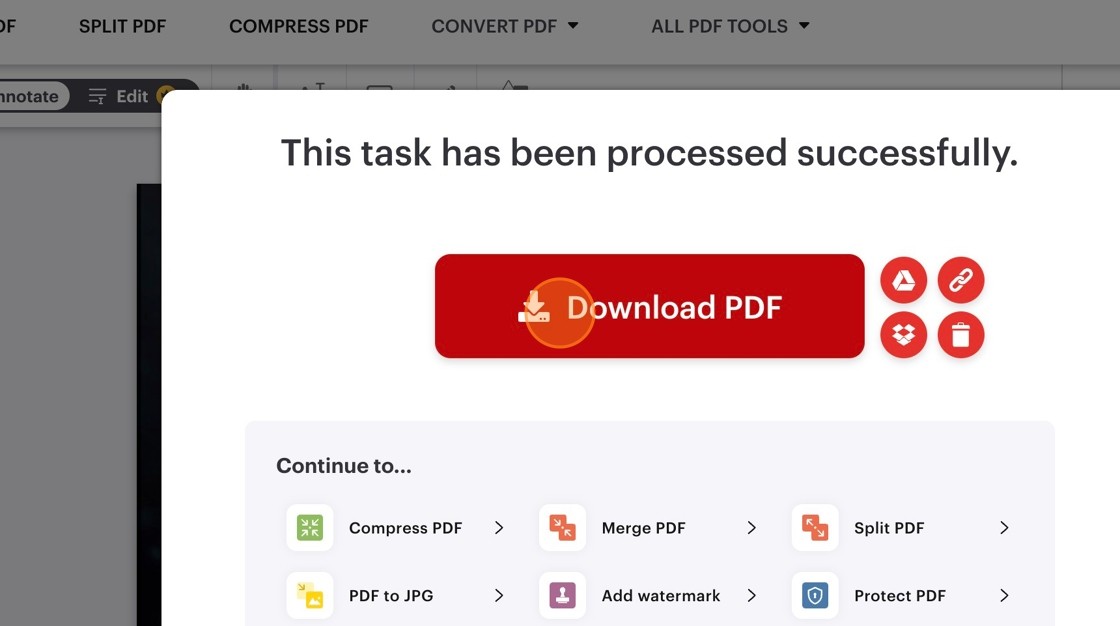
Once the processing is complete, click "Download PDF" to save the edited file to your computer. You now have a PDF with your logo on it, ready to share or print.

Tips for the Best Results
Use a High-Quality Logo Image: A clear, high-resolution logo will look more professional.
Keep the Logo Size Appropriate: Make sure your logo is not too big or too small. It should be visible but not distracting.
Position the Logo Consistently: If you are adding a logo to multiple PDFs, place it in the same spot each time to maintain consistency across your documents.
Adding a logo to your PDF is a quick and easy process with iLovePDF. By following the simple steps above, you can upload your PDF, insert your logo, and position it exactly where you want. Within minutes, you’ll have a document that looks professional and is branded to represent your company or organization.
We hope this guide helps you create PDFs that stand out with your own personal or company logo. With iLovePDF, you can easily edit your documents to reflect your brand identity and make a lasting impression on your readers.
Need high-quality ebooks for your business?
Master Library contains over 1,000 done-for-you products, including business ebooks and other materials, that you can use in any way you want. Whether you choose to rebrand them, bundle them with your own offerings, sell them to clients, use them as lead magnets, or even train your team, the Master Library has everything you need to enhance your professional image and grow your business.

Tomas
Founder of Entrepedia


